Set pressure by tire width, internal rim dimension, and full system weight rather than sidewall maxima. Regional forestry fire roads alternate between hard-packed subgrade, embedded basalt chunks, washed-out gullies, and scattered limestone ballasts. Running thirty-five pounds per square inch (psi) on a wide gravel casing turns your bike into a pinball over washboard tracks, wasting kinetic energy through vertical chassis displacement. Dropping pressure too low risks cracking carbon bead hooks against square drainage edges or rolling a tubeless bead off the shelf during high-speed switchbacks.
Dialing your tires for mixed-surface forestry corridors requires balancing pneumatic suspension against impact resistance. The ideal setup yields enough casing deflection to deform over chunky gravel while retaining sufficient internal support to keep your rims off bedrock. This guide outlines field-tested parameters for tubeless setups mounted on modern hooked or hookless rims spanning internal channel widths of twenty-one to twenty-five millimeters.
Matching rider mass to tire chamber volume
Calculate total system weight by combining the rider, clothing, shoes, full water bladders, tools, and the stripped bike. A seventy-five-kilogram cyclist carrying eight kilograms of gear and water on an eight-and-a-half kilogram bike produces a working system mass of ninety-one and a half kilograms. Tire volume depends on casing width and internal rim width; a nominal forty-millimeter tire on a twenty-five-millimeter internal rim balloons to nearly forty-two millimeters, expanding the air chamber and requiring lower pressure for equivalent deflection.
Tire volume dictates the air spring rate. Narrow casings between thirty-eight and forty millimeters hit peak deflection quickly, necessitating higher baseline pressures to avoid casing collapse. Casings measuring forty-four to fifty millimeters hold substantially more air volume, allowing pressure drops of four to six psi without sacrificing lateral stability.
| System Weight (kg) | 38mm Casing (psi) | 42mm Casing (psi) | 45mm Casing (psi) | 50mm Casing (psi) |
|---|---|---|---|---|
| 65 to 72 | 31 / 34 | 27 / 30 | 24 / 27 | 20 / 23 |
| 73 to 81 | 34 / 37 | 30 / 33 | 27 / 30 | 23 / 26 |
| 82 to 90 | 37 / 41 | 33 / 37 | 30 / 33 | 25 / 29 |
| 91 to 100 | 40 / 44 | 36 / 40 | 33 / 37 | 28 / 32 |
The values above represent front and rear base settings for tubeless installations on twenty-three-millimeter internal rims. If using inner tubes, add four to five psi to every number to lower the risk of pinch flats against the rim tape. Riders using hookless rims must verify that peak pressures stay beneath the European Tyre and Rim Technical Organisation maximum limit of seventy-two and a half psi, though gravel operating pressures rarely approach this ceiling.
Adjusting front versus rear pressure balance
Static gravel bike weight distribution sits near forty-three percent on the front wheel and fifty-seven percent on the rear under level pedaling. When climbing out of the saddle on twelve-percent fire road gradients, rear wheel loading spikes beyond sixty-eight percent. Conversely, steep descents over loose gravel shift dynamic load toward the front axle, demanding that the front casing maintain structural integrity under hard mechanical braking without tucking or washing out.
Maintain a constant offset between the tires. The rear tire requires two to four psi more than the front to counter the permanent rearward weight bias and guard against high-load impacts while seated. Running identical pressures front and rear either leaves the front over-inflated, creating road chatter and hand numbness, or leaves the rear under-supported, making rim strikes inevitable on grade breaks.
- Standard endurance geometry: Maintain a three-psi spread. A baseline of twenty-eight psi front and thirty-one psi rear handles neutral dirt roads cleanly.
- Bikepacking with rear rack or seat packs: Increase the differential to five psi. Extra gear weight sits directly above or behind the rear dropouts, compressing the rear tire during seated pedaling.
- Steep descending routes: Narrow the gap to two psi. Hard deceleration throws mass forward, loading the front fork and tire carcass heavily into loose turns.
Test lateral casing squirm on smooth tarmac before hitting the dirt. Stand out of the saddle, lean the bike aggressively from side to side at twenty kilometers per hour, and monitor the front tire. If the tire carcass feels vague or ripples underneath the rim edge, add one and a half psi to the front immediately.
Handling loose surface stones over hard clay bases
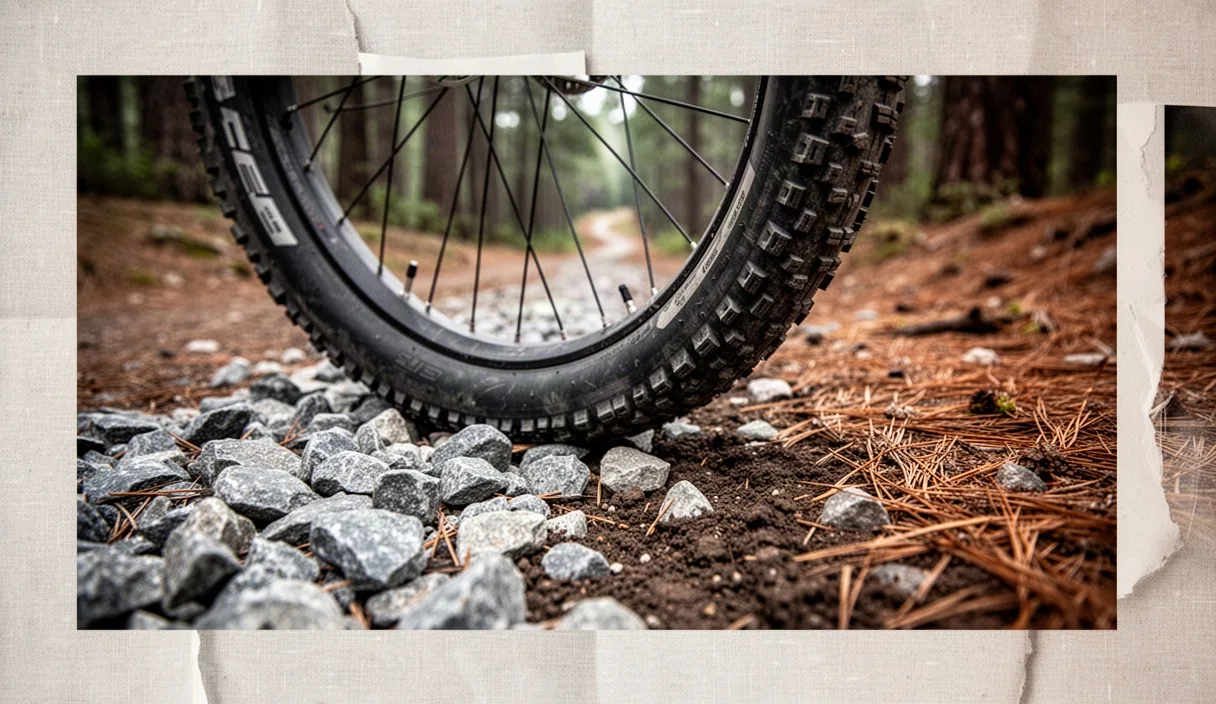
Regional fire roads often consist of baked sub-base clay covered with loose sedimentary gravel, crushed sandstone, or quarry ballast. When tires are over-inflated, the tread cannot conform to these loose surface marbles. The tire rides atop the rocks like ball bearings, causing loss of drive traction during steep seated climbs and sudden two-wheel drifts in corners.
Lower the working pressure by one to two psi below standard gravel baselines when loose top layers exceed twenty millimeters in depth. This drop permits the tire footprint to lengthen along its longitudinal axis, putting more tread blocks in contact with the ground simultaneously. Tread deformation wraps the rubber around angular stones rather than bouncing off them, maintaining forward drive and directional stability.
- Inspect the surface consistency: confirm whether the base is unyielding, dry clay beneath marble-sized gravel.
- Vent air incrementally: use a gauge-equipped bleeder valve to exhaust one psi at a time from both wheels.
- Test climb seated: apply steady torque over a ten-percent incline. If the rear tire slips on loose top stones, bleed another half-psi from the rear.
- Check cornering response: enter a gravel bend in an athletic stance. If the front wheel wanders laterally without biting, check if the tread shoulder is rolling under. If it rolls, add back one psi.
Do not rely solely on lower pressure to solve traction deficits on loose-over-hard terrain. Casing width and tread compound play complementary roles. If local fire roads use fractured granite rather than river pebbles, running pressures lower than twenty-four psi on forty-millimeter tires invites sidewall slicing on sharp edges. Tread with closely spaced center knobs and pronounced shoulder lugs works best within this pressure window.
Preventing rim strikes on exposed drainage ruts
Water diversion trenches, ditch channels, and grade breaks run diagonally across mountain fire roads to shed seasonal storm runoff. Striking an unspotted drainage furrow at thirty kilometers per hour crushes the tire carcass flat against the rim bed. The resulting impact can crack carbon fiber rim walls, flare aluminum flanges, or produce instantaneous snake-bite cuts on the tire bead.
Bottom-Out Dynamics and Tire Volume
An impact occurs when kinetic energy overwhelms the tire air spring. Because air acts as a progressive spring, smaller volume tires ramp up pressure rapidly upon deflection, but they possess very little total travel before the casing bottoms out against the metal. A forty-five-millimeter tire provides roughly forty-one millimeters of actual vertical compression distance before the rim makes contact, whereas a thirty-five-millimeter casing offers under thirty millimeters of travel under identical impact forces.
Protective Actions for Fast Descending
Adjust your strategy to safeguard wheel components over rugged descents:
- Install low-density foam inserts: Inserts sit inside the tubeless air cavity, dampening high-velocity compressions and shielding the rim bead during hard mechanical strikes. They allow riders to use optimal traction pressures without catastrophic rim contact.
- Enforce a bottom-out margin: On fast descents featuring blind water bars, increase baseline pressures by two to three psi across both wheels. The minor loss in micro-compliance is far cheaper than a broken wheel miles from cell reception.
- Evaluate casing ply ratings: Lightweight race casings with single-ply 120-TPI threads flex easily, making them susceptible to pinch flats against the rim wall. Choose sixty-TPI casings or tires reinforced with bead-to-bead puncture belts for roads with exposed rock trenches.
If you strike a rim hard enough to hear an audible ping or metallic crack, dismount immediately. Check for bead seating displacement, sealant weeping around the rim hook, and true running of the wheel before proceeding down the mountain.
Checking cold pressures before morning trail starts
Set and verify tire pressures immediately before rolling onto the route, when the bike is at ambient mountain temperature. Charles's Law dictates that air pressure varies directly with temperature. For every six degrees Celsius change in atmospheric conditions, pneumatic tire pressure shifts by roughly one psi. A bicycle stored overnight in a heated twenty-degree workshop will lose two to three psi when rolled outside into a frosty six-degree morning.
Elevation shifts produce similar deviations. Gaining twelve hundred meters of vertical climb drops atmospheric pressure by roughly two psi, which slightly increases the differential pressure reading across the tire casing. High midday solar exposure heating dark carbon rims and black tires can boost internal temperatures past forty degrees Celsius, raising pressures by three to four psi over early morning launch baselines.
| Ambient Temp Shift | Initial Workshop Reading | Actual Trailhead Pressure | Correction Action |
|---|---|---|---|
| Drop of 12 deg C | 32.0 psi | 30.0 psi | Add 2.0 psi with mini-pump at trailhead |
| Drop of 6 deg C | 32.0 psi | 31.0 psi | Add 1.0 psi before rolling out |
| Stable temp | 32.0 psi | 32.0 psi | Zero adjustment required |
| Rise of 8 deg C | 32.0 psi | 33.3 psi | Bleed 1.3 psi at mid-day staging check |
Use an external digital pressure gauge rather than the analog dial fitted to a standard track pump. Floor pump gauges read pressure behind the internal check valve within the hose assembly, introducing errors up to five psi depending on pump age, seal friction, and hose length. Compact digital gauges measure pressure directly at the Presta core seat, ensuring repeatability within one-tenth of a psi.
Common mistakes
Avoid these recurring setup errors when prepping gravel tires for rough mountain tracks:
- Relying on hand squeeze tests: Human fingers cannot distinguish between twenty-two and thirty psi across high-volume casings. A tire can feel rock hard to thumb pressure while lacking five psi of necessary support under full rider weight.
- Treating tubeless as maintenance-free: Air migrates through microscopic casing pores continuously. Tubeless systems leak between zero-point-five and two psi every twenty-four hours. Neglecting daily morning top-offs leads straight to rim strikes.
- Running manufacturer sidewall max: Sidewall printing like "Inflate to 50-75 PSI" reflects regulatory burst testing metrics for tubes, not real-world performance. Riding these maximum values on dirt ruins grip, spikes physical fatigue, and damages wheel assemblies over time.
- Ignoring dried tubeless sealant: Low pressure causes higher casing flex, which exposes small punctures on every impact. If liquid sealant has dried into a solid film inside the tire, those small casing breaches will bleed pressure rapidly mid-ride.
- Over-inflating to prevent roll: If a tire burps air or rolls in hard turns at recommended pressures, the internal rim width is usually too narrow for the chosen tire casing. Do not fix poor rim and tire matching by over-inflating the system into a wooden handling state.
Practical next steps
Take these actionable steps to establish your optimal tire setup before your next fire road departure:
- Weigh your complete setup: step onto a bathroom scale wearing your loaded hydration pack, cycling kit, and shoes. Weigh your bike loaded with bottles, saddlebags, and navigation units. Add the figures together.
- Measure rim internal width: check your wheel specifications. Ensure your tire casing does not exceed two point three times the internal rim width to preserve casing shape and bead stability.
- Select your starting values: find your system weight on the chart above and apply the correct three-psi rear offset.
- Procure a dedicated digital gauge: store it inside your riding bag. Take readings at the trailhead ten minutes after arriving to let the bike adjust to outdoor ambient conditions.
- Run a calibration loop: locate a two-kilometer sector of representative fire road featuring both a steep climb and an embedded rock section. Ride it twice, adjusting pressure down by one psi per lap until you locate the sweet spot between micro-suspension and rim protection.
- Consult professional wheelbuilders or your rim manufacturer if you run hookless rims, as exceeding their certified tire-and-rim combinations can cause casing blow-offs.