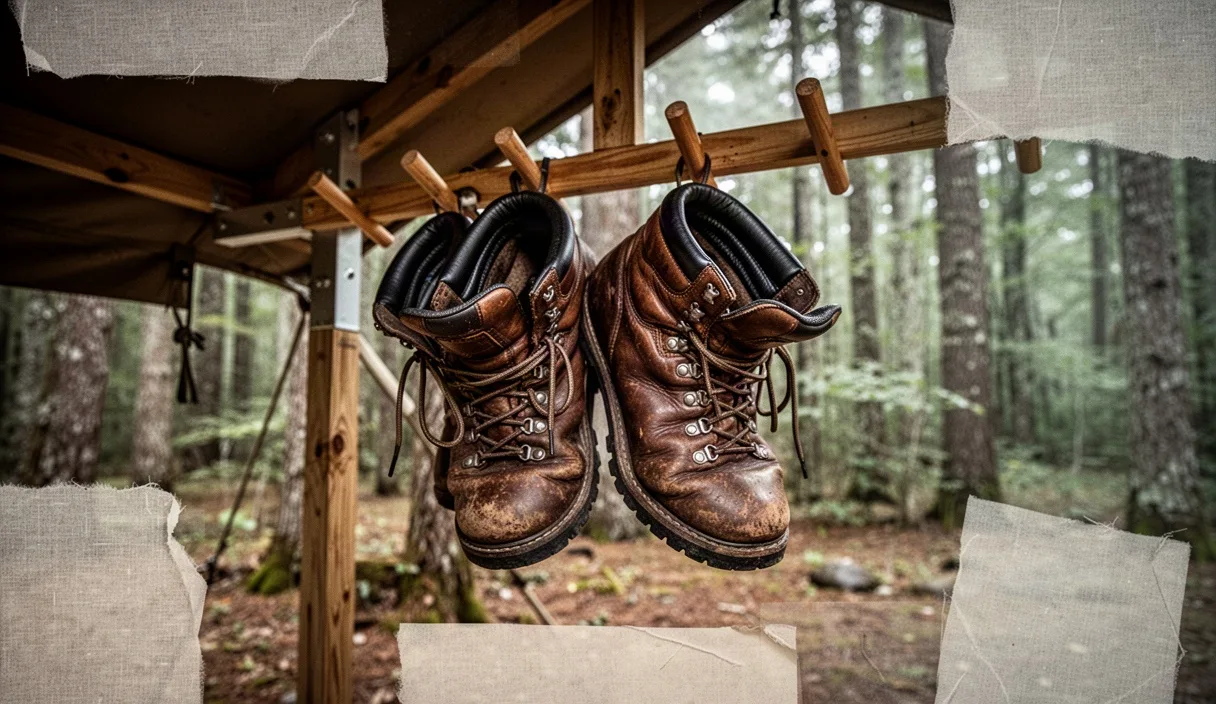
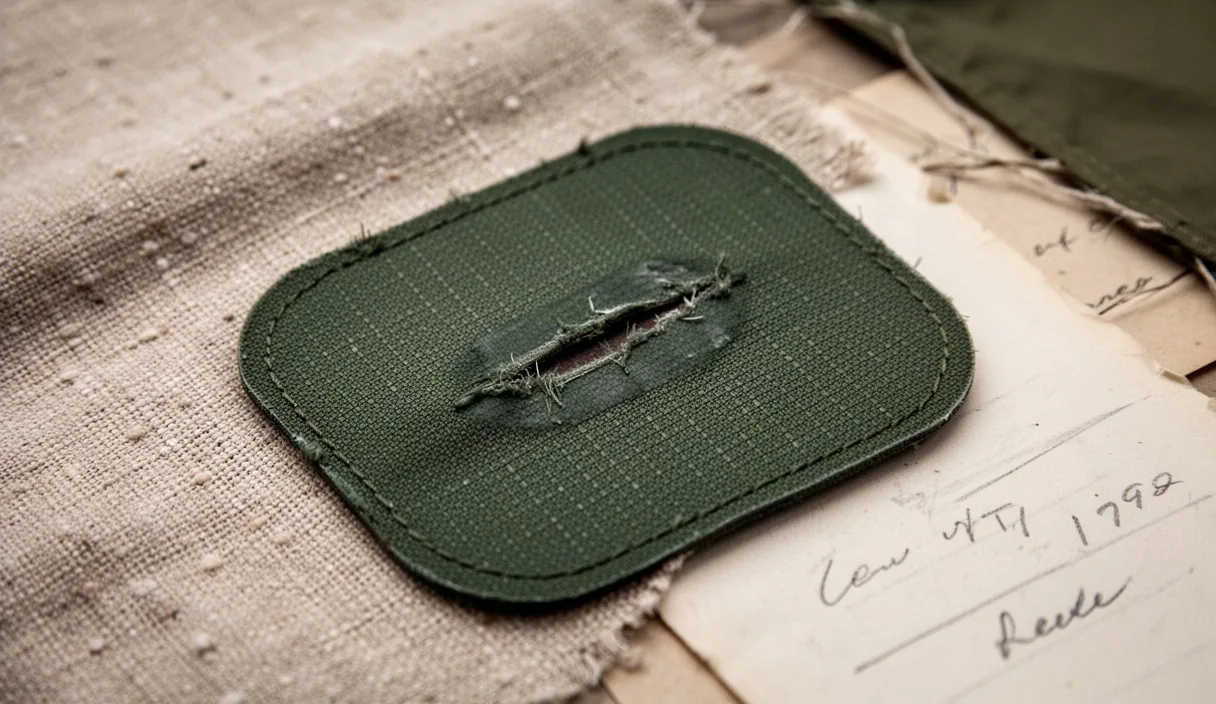
Pitch your tent out of the wind before fixing tears. A split canopy or holed vestibule worsens fast once gusts catch loose nylon fibers. Gear Aid Tenacious Tape provides a field-stable mechanical patch on polyurethane-coated nylon fabrics, keeping rain out and stopping cross-grain runs without needle stitching. The standard clear PVC and colored ripstop nylon tape variants carry an aggressive pressure-sensitive adhesive that bonds to standard tent walls within minutes, provided the substrate is clear of camp grime.
Do not wait until morning to patch storm damage. Wind cycles flex torn ripstop grids continuously, turning a tidy 40 mm tear along a panel into an L-shaped flap that splits across stress seams. A field repair takes 12 minutes if you carry an alcohol wipe, sharp shears, and a flat backing object. Use this field protocol to restore shelter integrity on polyurethane and polyether-polyurethane coated fabrics.
Cleaning dirt and tree resin off the rip zone
Adhesives require raw fabric contact. Tent fabrics collect trail dust, soot from campfires, condensation slime, and sticky conifer pitch. Lay the damaged fabric panel flat across your knee or a foam sit pad. Inspect both sides of the tear across a 50 mm radius. If loose threads bridge the gap, leave them in place unless they bunch up into thick knots; trimming load-bearing threads too aggressively can weaken the surrounding weave.
Wipe the fabric clean with an isopropyl alcohol prep pad. A 70 percent alcohol solution cuts through skin oils, surface silicones, and light grease without dissolving underlying polyurethane (PU) water-resistant coatings. Scrub 30 mm past the edges of the tear in every direction. Let the solvent evaporate completely for two minutes. Applying adhesive tape over damp alcohol traps moisture inside the weave, causing premature edge peeling when interior condensation builds up overnight.
Tree pitch requires specialized handling before solvent wiping. Pine or spruce resin resists plain water and rubs into a smeared film if wiped cold. Scrape thick sap gently with the back edge of a pocket knife blade held at 90 degrees to avoid slicing the nylon. Apply a drop of hand sanitizer containing alcohol directly to the gummy residue, agitate with a clean fingertip for 20 seconds, then blot the dissolved resin away with a bandana or paper towel. Follow with a final clean alcohol wipe to strip residual gel moisturizers.
- Dust and mineral dirt: Dry wipe with a lint-free cloth, then scrub with an alcohol pad.
- Hardened pine sap: Scrape mechanically with plastic or dull metal, dissolve with alcohol, blot dry.
- Soot and organic mud: Rinse with clear drinking water first, pat dry, finish with an alcohol prep wipe.
- Drying duration: 120 seconds minimum at 15 degrees Celsius; double the wait time in freezing air.
Trimming patches with rounded corner radiuses
Square corners fail in camp. Friction from packing the tent, brushing against brush, or dragging sleeping pads across the floor catches 90-degree points on adhesive tape. Once a single corner lifts, trail grit works underneath the exposed glue, unseating the entire repair over two or three pitch cycles. Rounding the corners redistributes peeling stresses evenly along a continuous curve.
Measure the split length with your eye or a ruler. Cut your Tenacious Tape strip so it extends at least 25 mm beyond the damaged area in every direction. For a 30 mm slit, cut an 80 mm patch. Use sharp micro-scissors or the small shears on a multi-tool to snip every corner into a smooth curve with a radius of at least 10 mm. Avoid choppy multi-angled cuts; make each corner a uniform semi-circle.
| Tear Size or Type | Minimum Patch Overlap | Ideal Patch Geometry | Backing Requirement |
|---|---|---|---|
| Pinhole or spark burn (under 3 mm) | 15 mm around hole | Circular disc, 30 mm diameter | Single patch exterior or interior |
| Clean straight slice (up to 50 mm) | 25 mm beyond cut ends | Oval or rounded rectangle | Two matching patches (both sides) |
| L-shaped corner rip (up to 75 mm) | 30 mm margin past corners | Rounded L-shape or wide oval | Two matching patches plus tack stitch if load-bearing |
| Punctured floor fabric (high abrasion) | 35 mm beyond edges | Circular or broad rounded rectangle | Two matching patches (heavy duty tape) |
Leave the slick backing liner attached to the tape while trimming. Cutting exposed adhesive ruins blade alignment and produces jagged edges that catch wind. Hold the patch firmly between thumb and forefinger, rotate the tape into the scissor blades rather than rotating the tool, and drop the scrap trimmings directly into your waste bag so they do not stick to your gear.
Applying matching patches to interior and exterior
Single-sided patches leave raw adhesive exposed through the split. That sticky gap captures sand, loose dirt, and down plumage from your sleeping bag, gradually weakening the seam from within. High-stress canopy panels and tent floors demand an interior-exterior sandwich patch. Sandwiching encapsulates the torn fibers, seals both PU coatings against hydrostatic pressure, and prevents the two edges of the rip from pulling apart when guyouts tighten.
Align the tear edges on a flat, level surface before pulling the adhesive backing. Push the two raw edges together so the nylon threads touch without overlapping or bunching. An overlap creates an air channel along the seam line where driving rain can seep through. If the rip puckers under tension, slacken the nearest guyline or unstake that corner of the tent body to release fabric bias.
- Peel back 15 mm of the paper liner from one end of your first patch.
- Anchor the exposed adhesive 25 mm past the end of the rip on the outside of the tent.
- Roll the patch down slowly along the line of the tear, peeling the paper liner away as the tape makes contact.
- Smooth air bubbles outward toward the edges using your thumb pad.
- Move to the inside of the tent fabric, verify the slit remains aligned, and repeat the application with an identical second patch directly over the first.
Match the internal patch placement as close to mirror alignment as possible. When the two adhesive faces contact each other through the small gaps in the rip, they create a permanent weld through the weave. Maintain light outward finger pressure to keep the fabric smooth while setting the interior piece.
Burnishing the adhesive bond against a hard surface
Pressure-sensitive adhesives need mechanical force to flow into the microscopic texture of woven nylon. A patch pressed down with cold fingers alone reaches only a fraction of its potential bond strength. Burnishing generates localized friction heat and forces the adhesive matrix deep around individual ripstop threads.
Slide a smooth, rigid object directly behind the patched fabric. In camp, useful backing surfaces include a clean hard-sided water bottle, a flat river stone washed free of silt, the spine of a plastic camp trowel, or the bottom of an aluminum mess pot. Never burnish over rough wood, exposed soil, or granite boulders; coarse textures puncture thin nylon under high pressure.
Work across the patch with a hard burnishing tool. The back of a spoon, the smooth butt of a knife handle, or the rounded cap of a lighter functions well. Press down with substantial body weight, approximately 5 to 8 kilograms of direct downward force. Rub in tight circular motions, starting in the middle of the patch and working outward across the rounded borders. Pay special attention to the patch perimeter, pressing the outer 5 mm until the tape edge sits flush against the tent fabric with no visible pale air borders.
The bond achieves functional holding strength immediately, allowing you to re-tension the pitch right away in wet conditions. Full chemical set takes 24 hours at standard ambient temperatures. If camp temperatures drop below 4 degrees Celsius, warm the back of your spoon against a hot mug of water before burnishing to soften the adhesive layer and encourage deep wet-out into the ripstop grid.
Silicone-based solutions for pure silnylon flysheets
Standard Tenacious Tape does not bond to pure silicone-impregnated nylon (silnylon). Most lightweight trekking-pole tents and expedition flysheets use silnylon, where both sides of the fabric are saturated with slick liquid silicone. Standard adhesives slide right off this non-stick finish under moderate wind tension. Attempting to use polyurethane tape on silnylon results in patch failure within hours.
Determine your flysheet coating before deploying tape. Check the spec sheet from your manufacturer: if the fabric lists "Sil/PU", one side (usually the exterior) is silicone-treated while the underside carries polyurethane. On Sil/PU fabrics, standard Tenacious Tape sticks to the interior PU side, but fails on the exterior. If the fabric is pure double-sided silicone ("Sil/Sil"), standard tapes will not adhere to either face.
| Fabric Coating Type | Standard Tenacious Tape (Clear/Nylon) | Silnylon Patches (Silicone Adhesive) | Field Liquid Sealant Option |
|---|---|---|---|
| Pure Silnylon (Sil/Sil flysheets) | Incompatible (peels instantly) | Fully compatible (permanent bond) | SilNet / Seam Grip SIL + nylon patch |
| Sil/PU Hybrid (Sil exterior, PU interior) | Interior surface only | Exterior surface only | Match sealant to target side |
| Polyurethane-coated Nylon (PU) | Fully compatible (interior and exterior) | Incompatible | Seam Grip WP / urethane adhesive |
| Polyester / PolyTaffeta (PU-coated) | Fully compatible | Incompatible | Seam Grip WP |
Carry dedicated Tenacious Tape Silnylon Patches if your shelter uses silicone coatings. These specialized patches use a proprietary silicone adhesive formulated to link chemically with silnylon fibers. Application rules remain identical: clean the zone thoroughly with alcohol, cut rounded edges, back the panel against a flat surface, and burnish firmly. For large silnylon structural blowouts where tape is unavailable, apply a small smear of tube silicone sealant (such as Seam Grip SIL) over the tear, place a patch of scrap ripstop into the wet silicone, and allow it to cure flat for six hours before loading the panel.
Common mistakes
Small errors during field repairs lead to flapping patches and water leaks during overnight rainstorms. Avoid these frequent mistakes:
- Leaving corners square: Right-angle corners snag against tent stuff sacks and brush, peeling the patch loose within 48 hours.
- Touching the adhesive face: Handling the sticky side deposits skin oils that compromise bond performance. Hold the patch exclusively by its non-stick backing paper or at the very edge.
- Patching dirty fabric: Skipping the alcohol wipe leaves an invisible barrier of dust, mildew, or pitch between the adhesive and fabric weave.
- Stretching elastic fabric during application: Pulling the tent wall tight while laying down tape introduces tension bias. When the fabric relaxes, the patch buckles and forms leak-prone water channels.
- Misidentifying fabric coatings: Using standard tape on pure silnylon guarantees failure. Check your tent manual before trip departure to stock the correct tape variant.
Next steps for permanent repair
A properly burnished Tenacious Tape patch often lasts for seasons of hard use, but structural tears on major load paths need evaluation once you return from the backcountry. If the tear runs through a main guyout anchor, ridge seam, or zipper attachment line, the tape patch serves as a temporary field splint. These high-stress junctions require machine bar-tacking and reinforcement with structural nylon webbing.
For non-structural tears in panels or floors, inspect the tape edges at home under strong light. If any edges lifted during the pack-out, do not pull the old patch off, as aggressive peeling can pull the PU coating away from the nylon base. Instead, trim lifted tape collars with curved cuticle scissors and seal the exposed border with a bead of Seam Grip WP (for PU fabrics) or Seam Grip SIL (for silnylon). Let the liquid adhesive self-level and cure undisturbed for 24 hours before packing the shelter away into dry storage. If a seam has blown out completely across several structural panels, consult a professional gear repair service to stitch and seal the shelter back to factory load specifications.